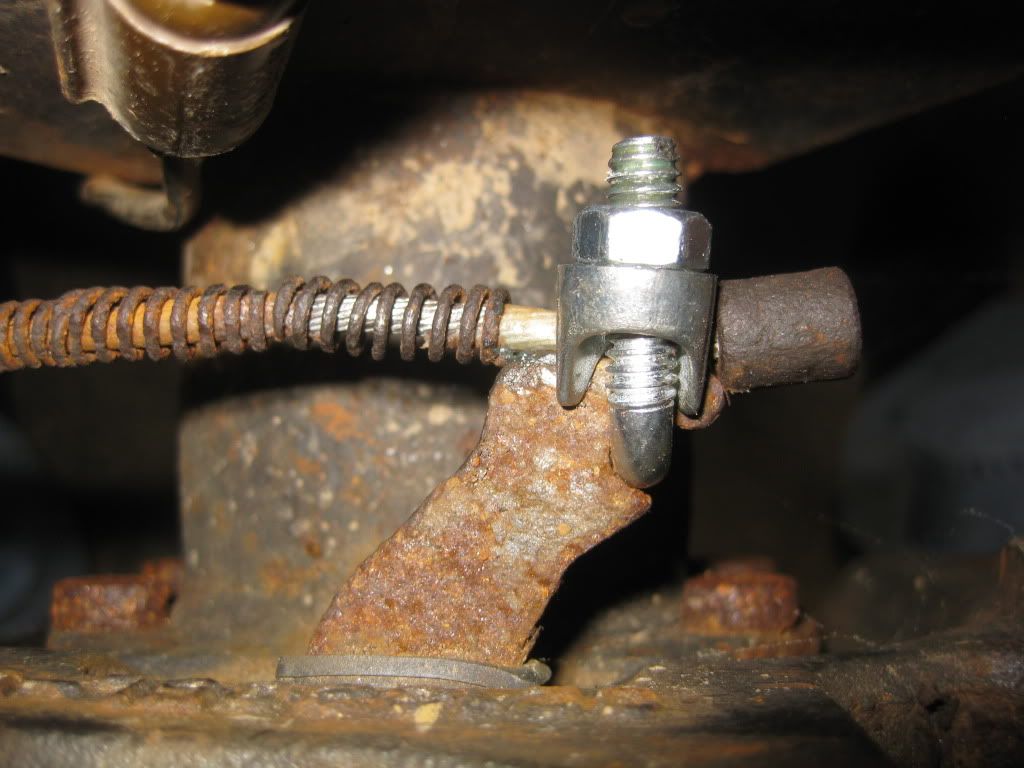
Well did some work on the Jeep today and finally got the E-brake hooked up. I’m going to need to get some new springs for it though so that the arm will push back in to place.
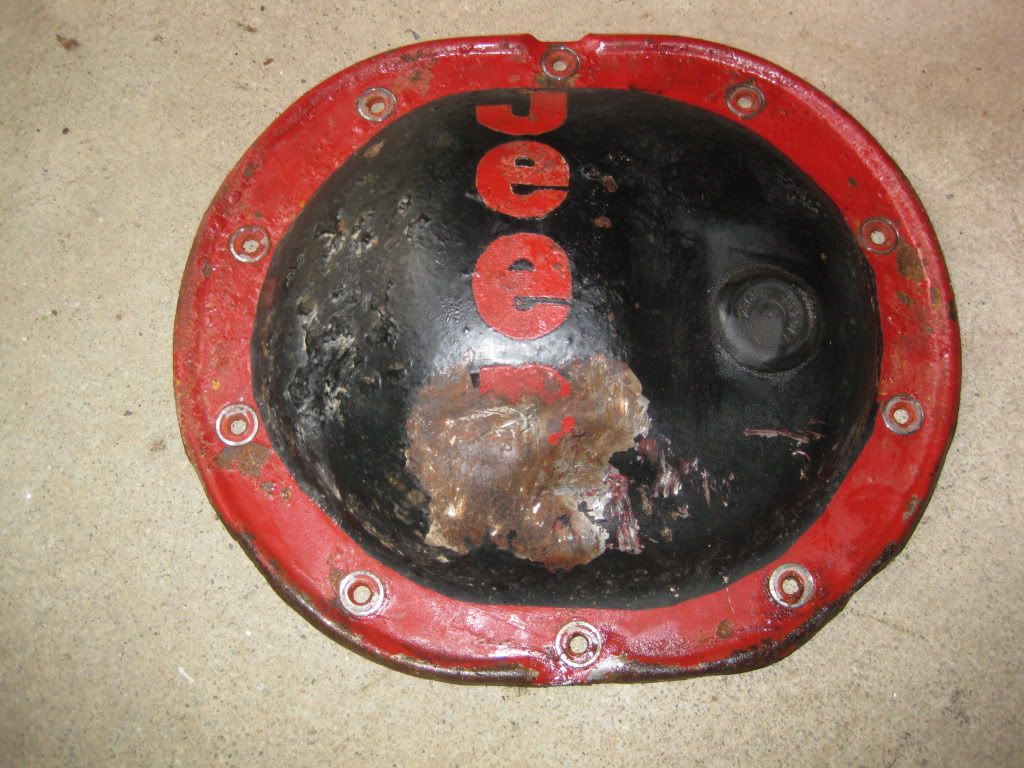
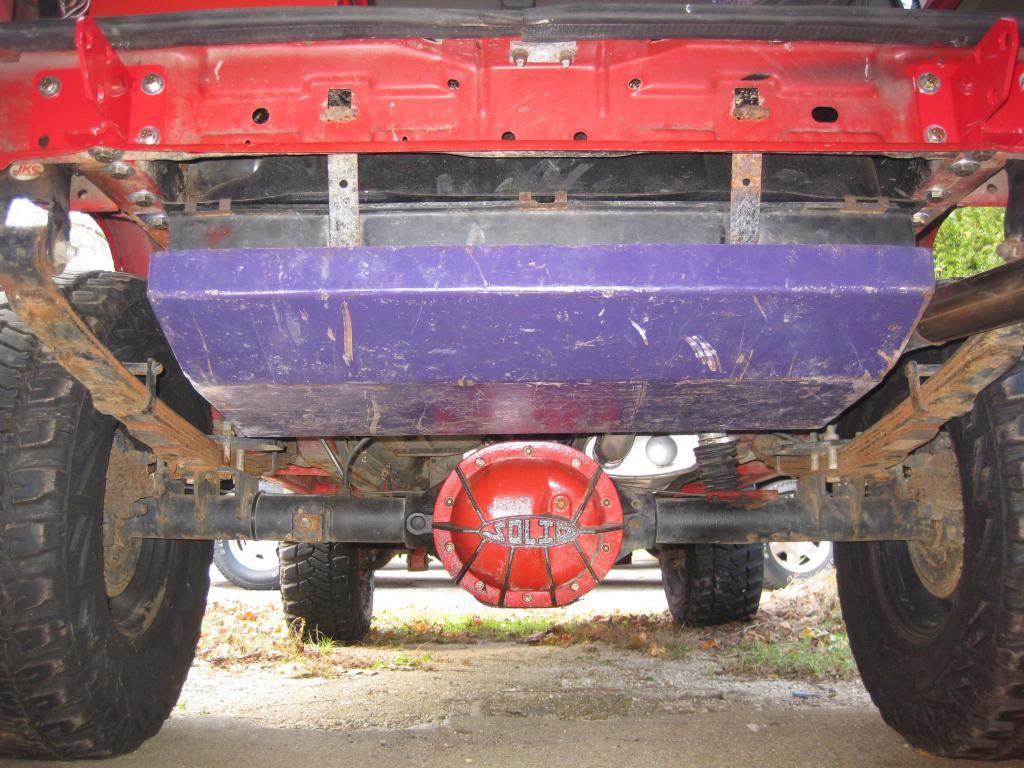
I also had to replace the rear diff cover because I banged the stock one on a rock or two.
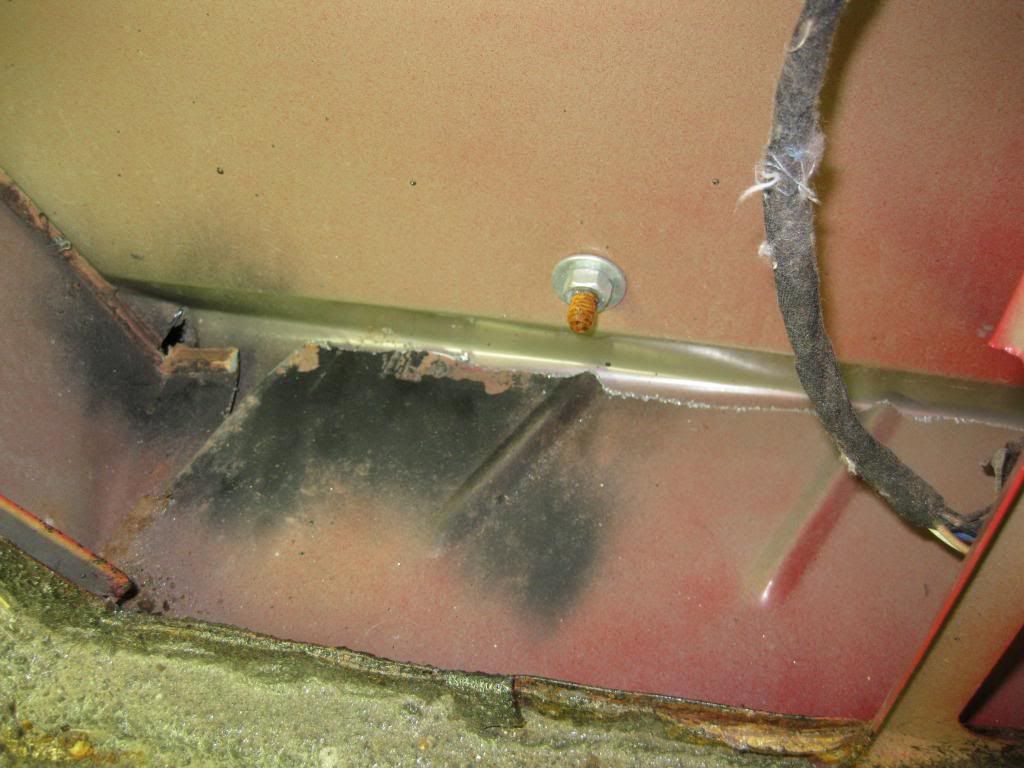
Here is what my diff cover looked like afterwards
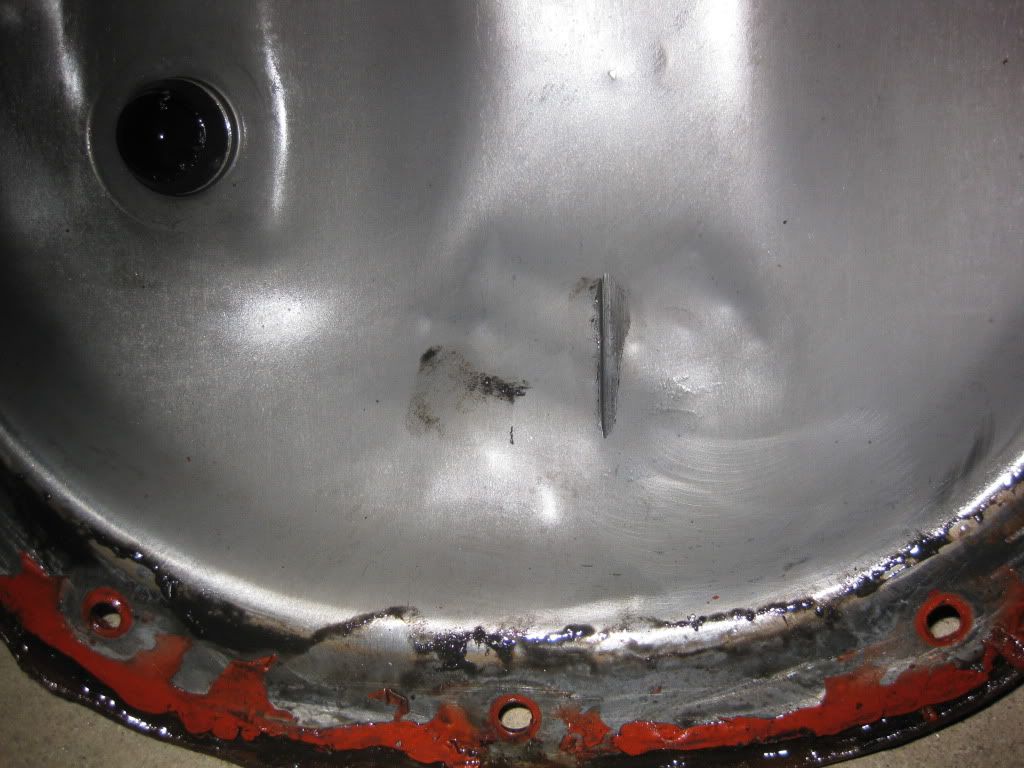
You can even see on the inside ware the ring gear grinded against it
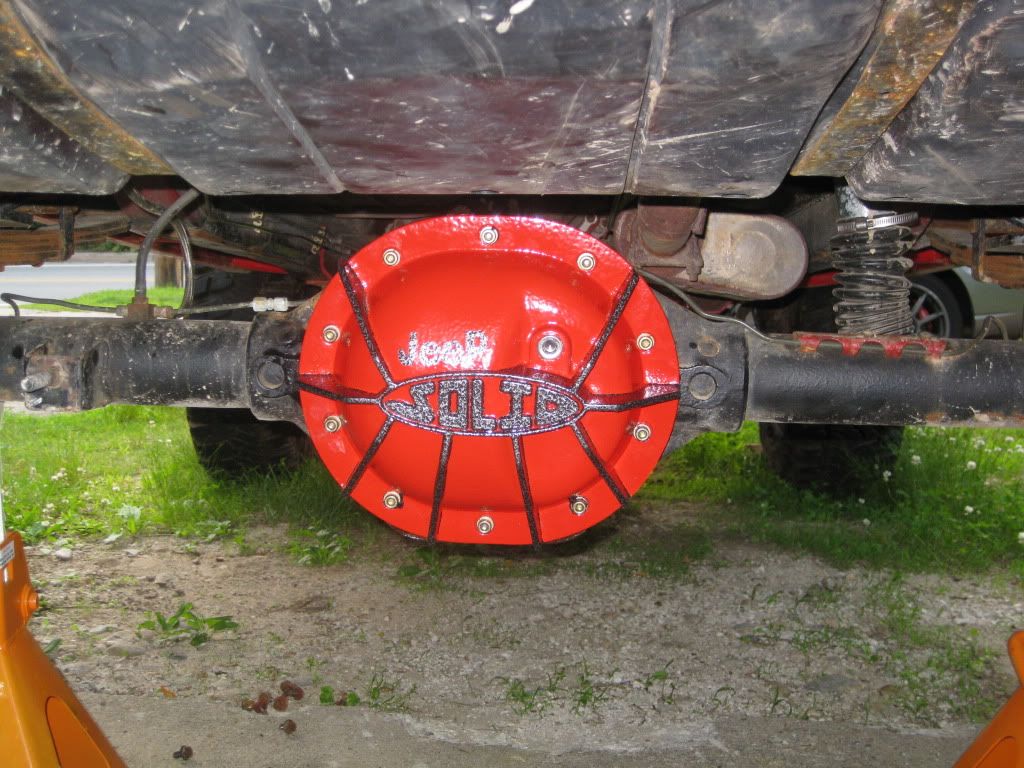
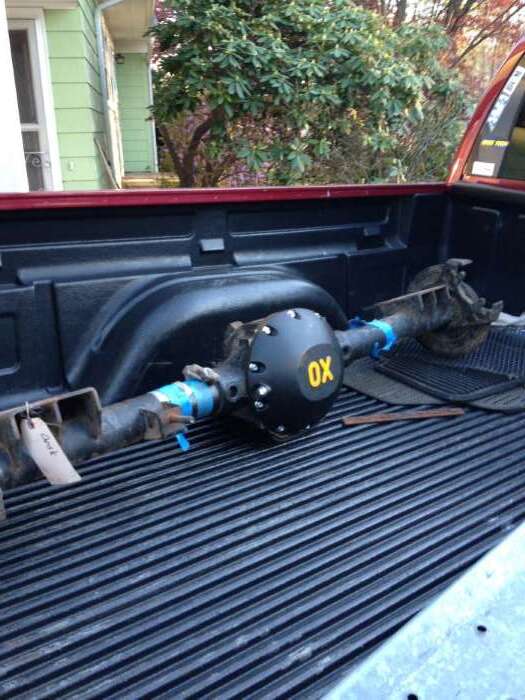
Good thing is that the ring gear and everything else look good still. So here is the new insurance plan.
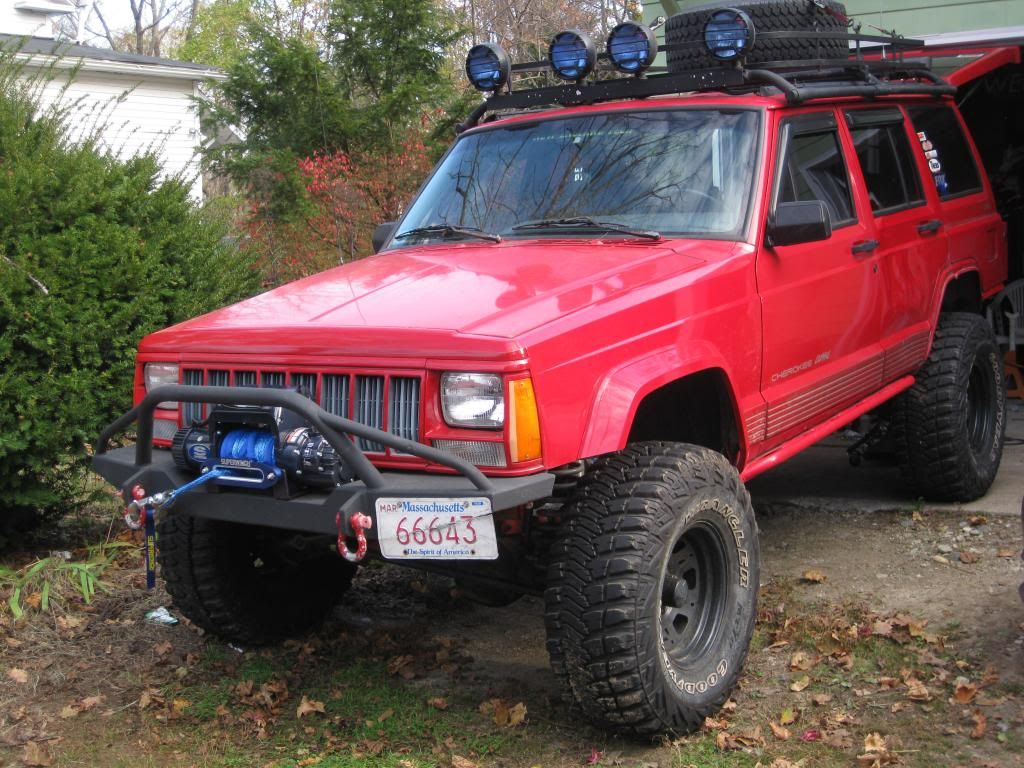
As ready as I’m going to be… After this I plan on getting a gas tank skid, cause I dented that up pretty good that day as well, and a new rear bumper and tail lights. I’m also hoping to have my rear shock reinstalled as well as touching up a few odds and ends.
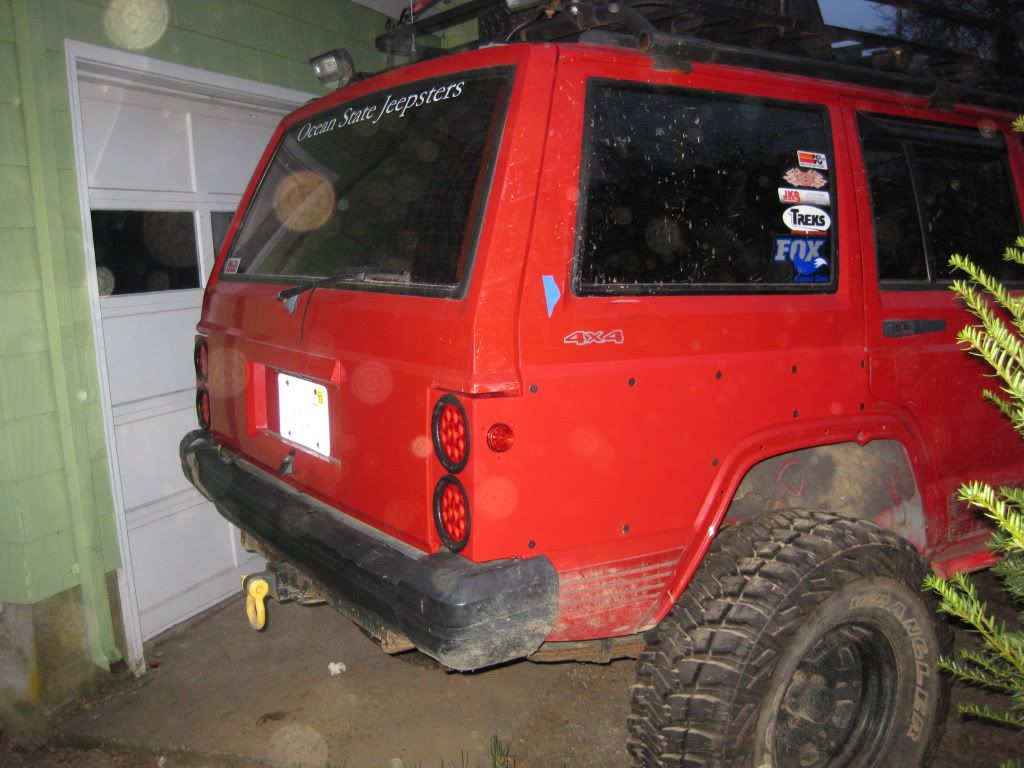
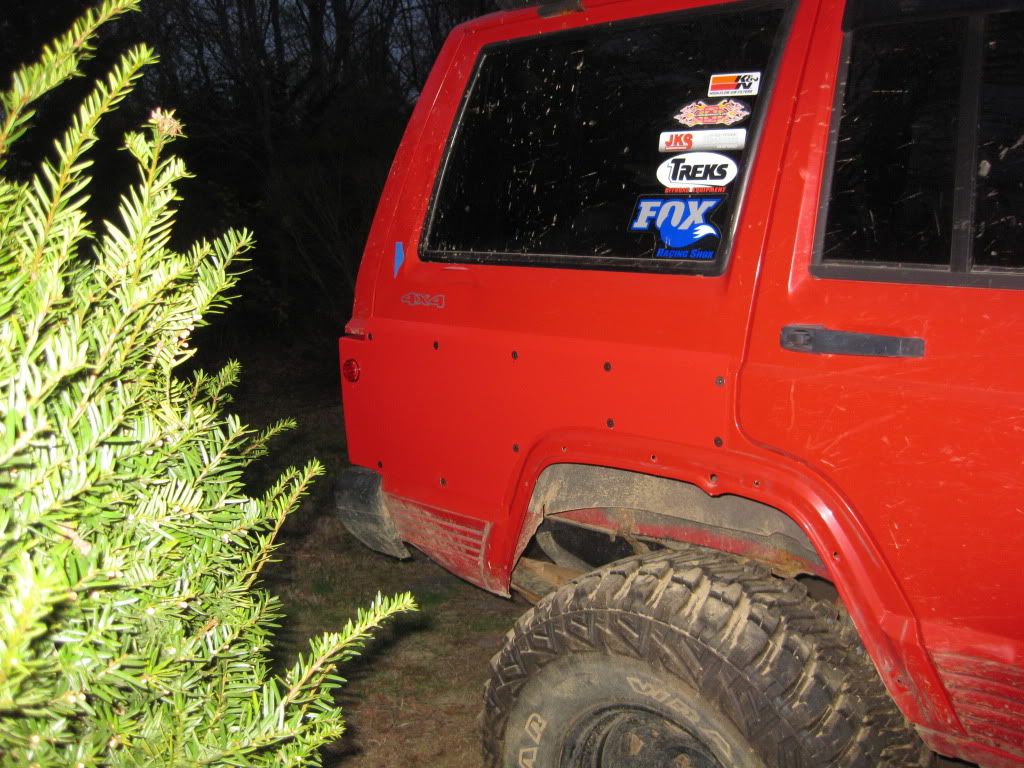
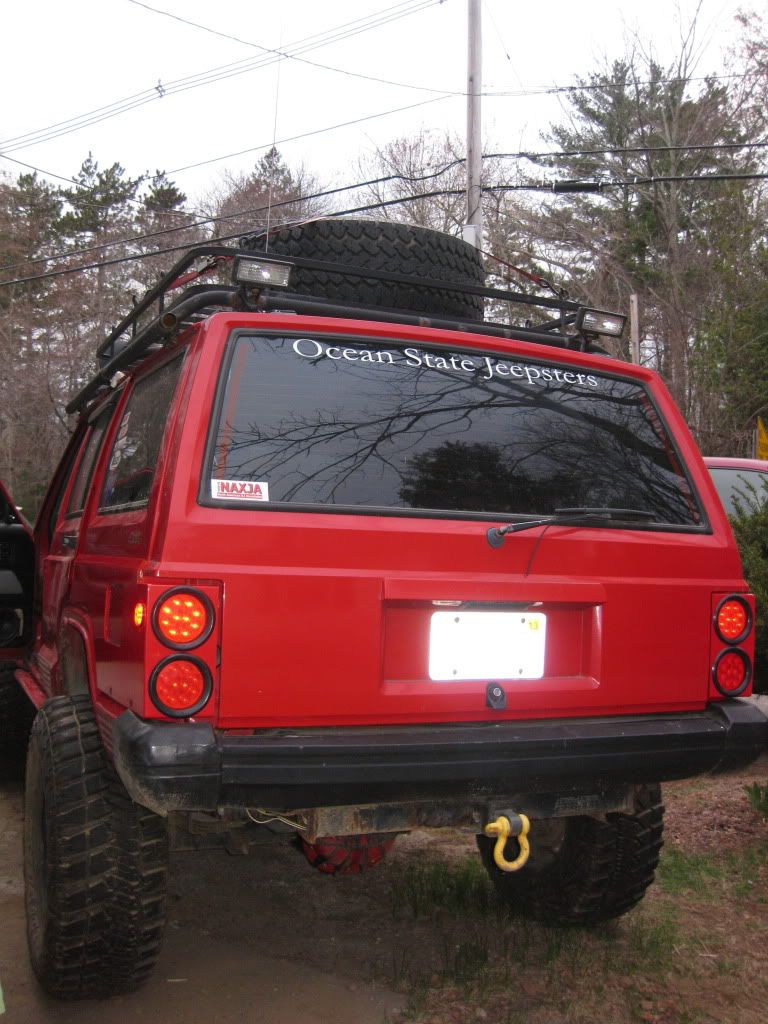
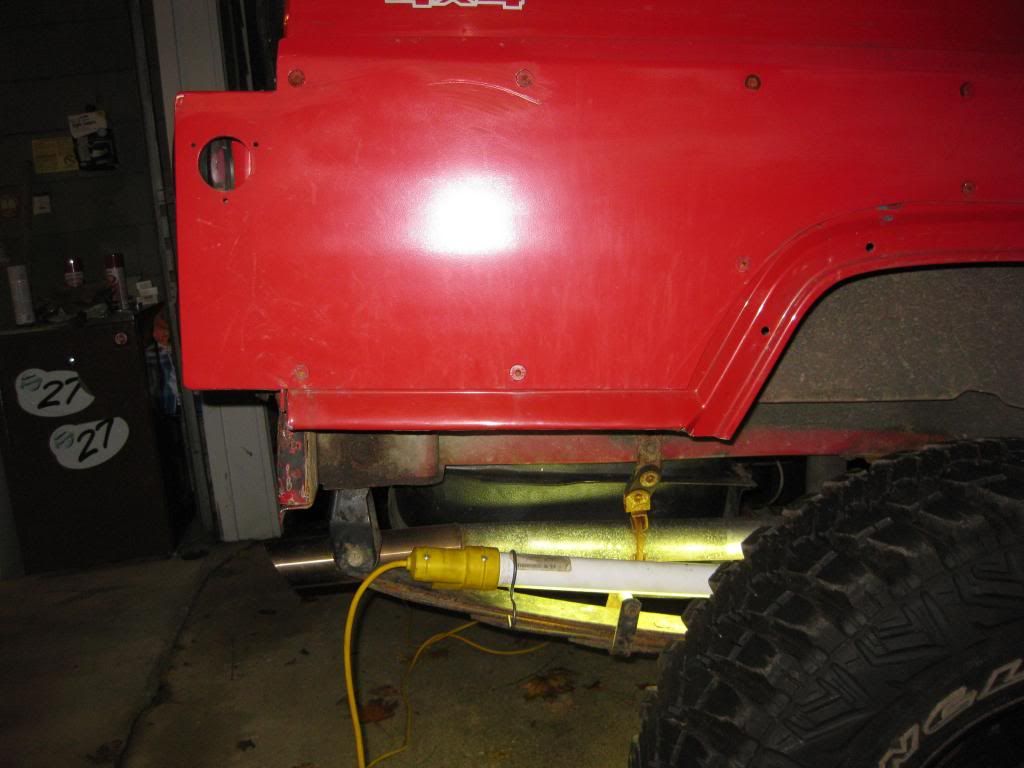
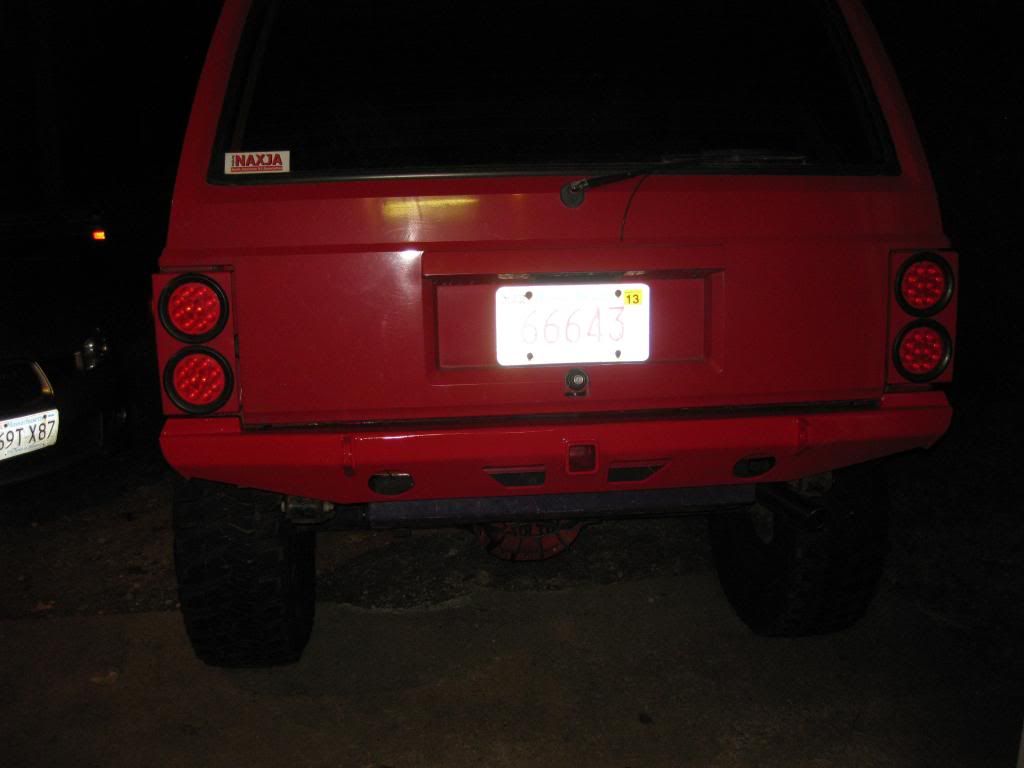
I did some more work on the Jeep today. I installed the JCR quarter panel guards/ tail lights, decided to also go with LED lights. Everything is hooked up and working correctly. All that’s left is a few odds and ends. Like re-installing my fender flares.
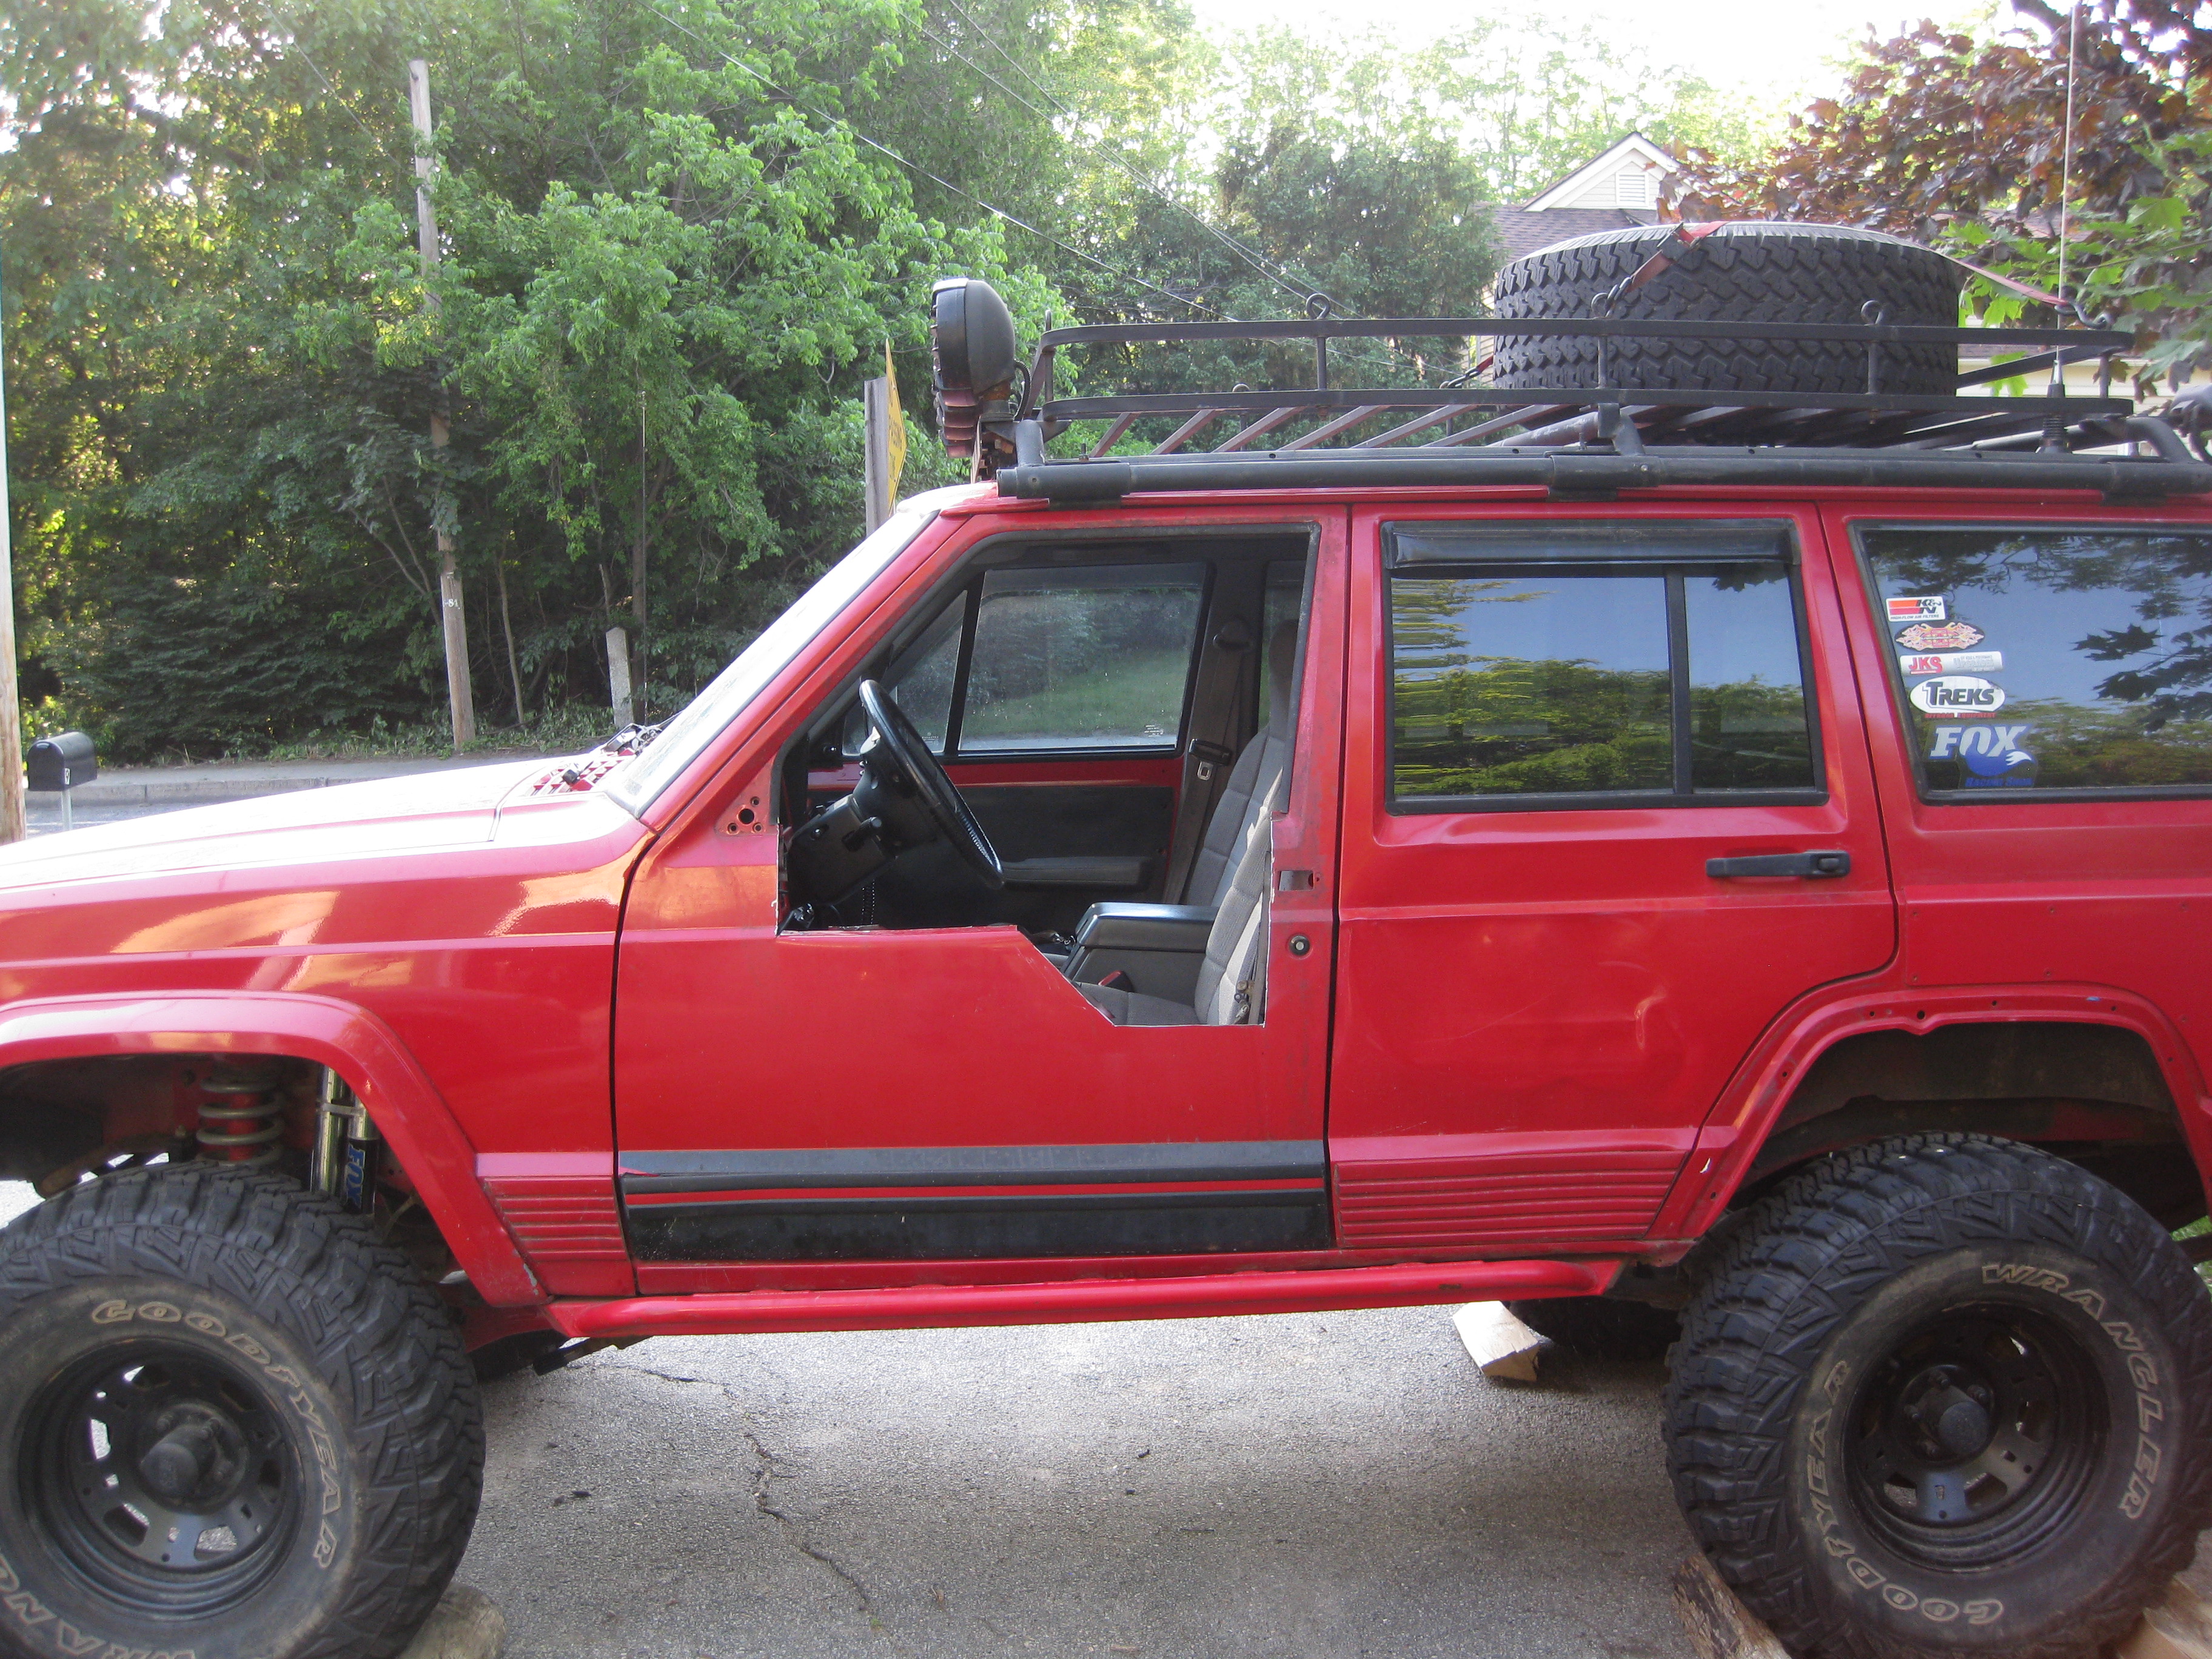
did some more work this past weekend. I was able to pick up some doors for cheep so yesterday I started tearing them down and cut one up to see how it will look. I’m curiouse to see how the back doors will come out.
It’s been a while so I figured I would update the last few mods I’ve done.
First was a new Winch.
Then finally a gas tank skid, so now I won’t have to replace my tank every year.
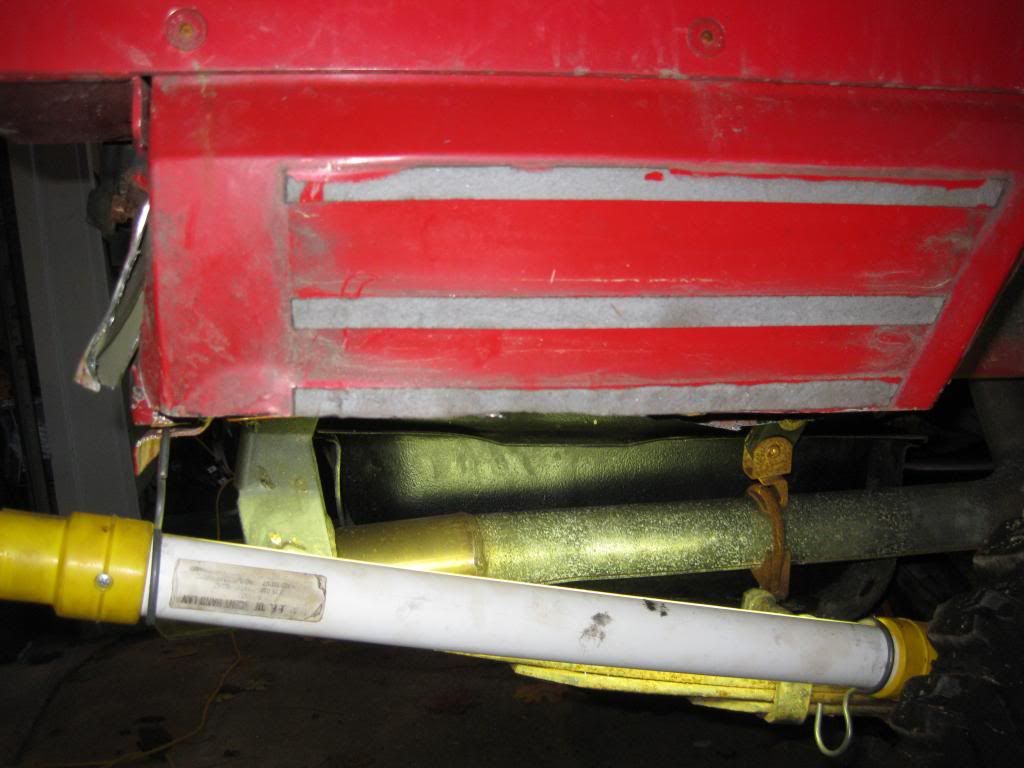
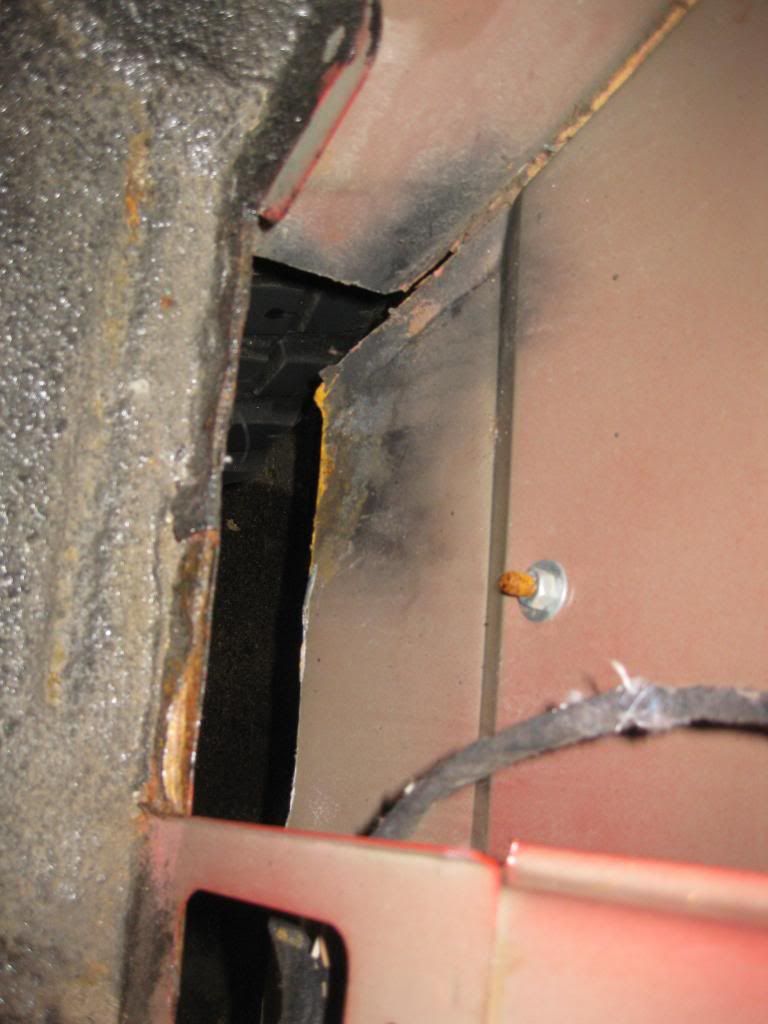
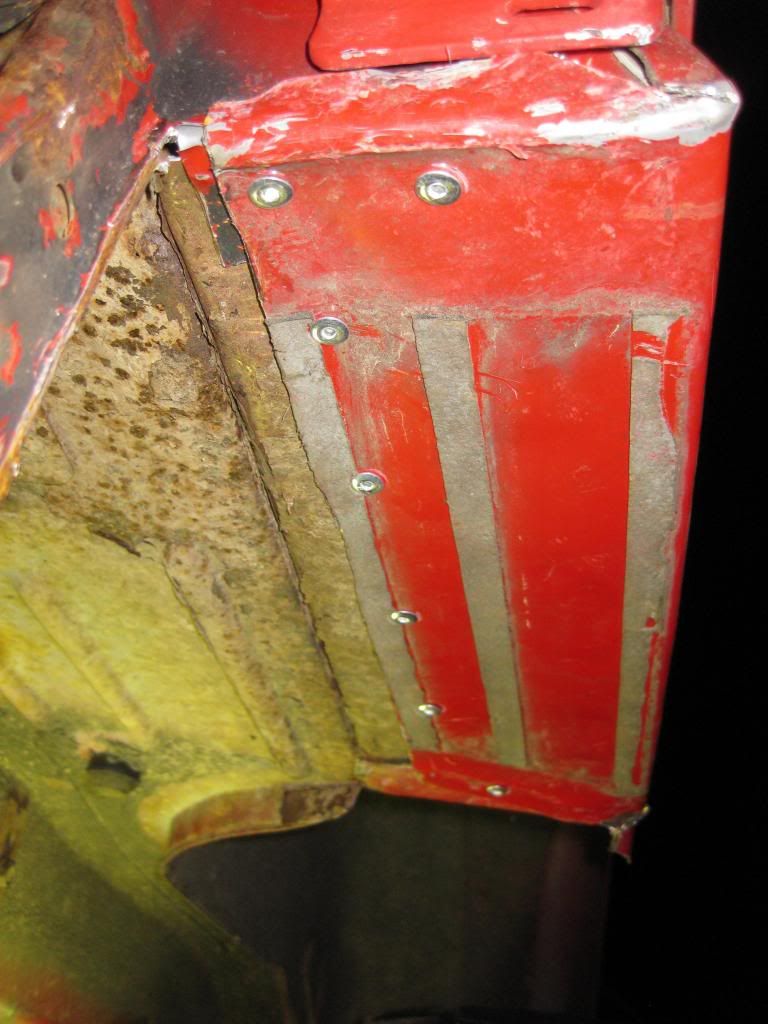
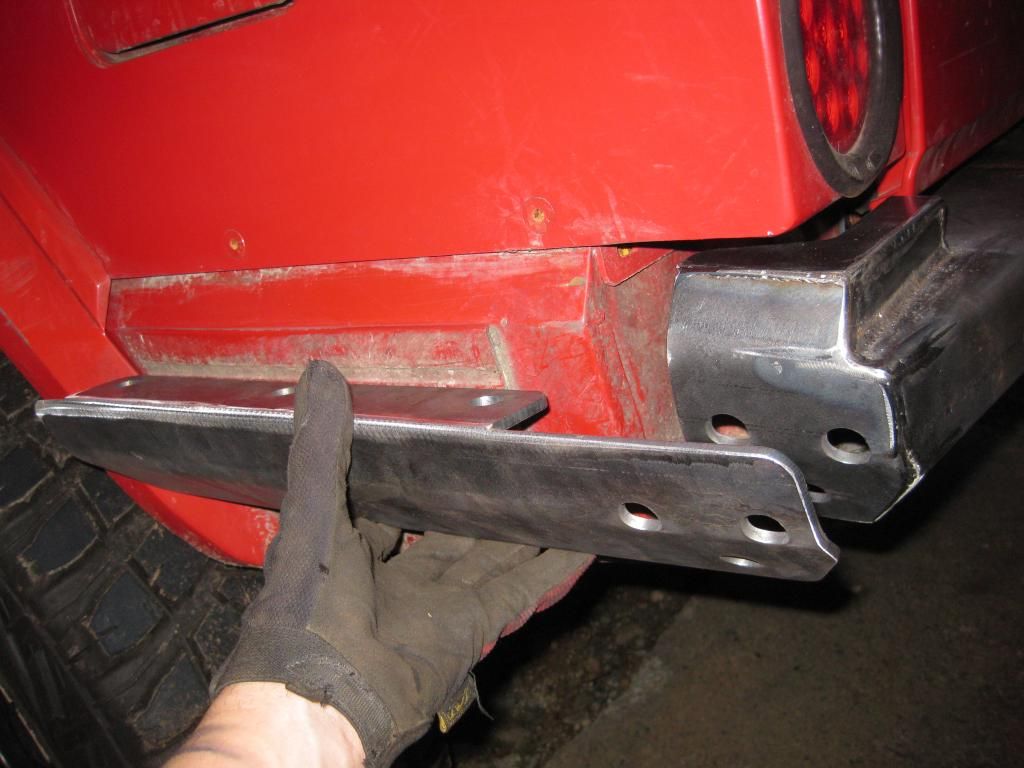
And finally a rear bumper, it required some cutting and folding of the rear quarter panels. But they were getting dented up anyways. Also the bumper comes with what I would call side protectors.
Before
During
and here is what the side protectors will look like when/if I finally mount them.
here is what the bumper looks like as of now.
looks good Chris. the gas tank skid is huge. the TJ’s drag the rear end over things. if i didnt have a gas tank skid i’d be changing my gas tank every ride
So it took me a while to find this as it has been some years from my last update, and figured as I have been working on my Jeep this winter I would restart this thread.
To not go too much into the weeds of what has happened over the last 9 years below is a short recap.
2013-2021
2013
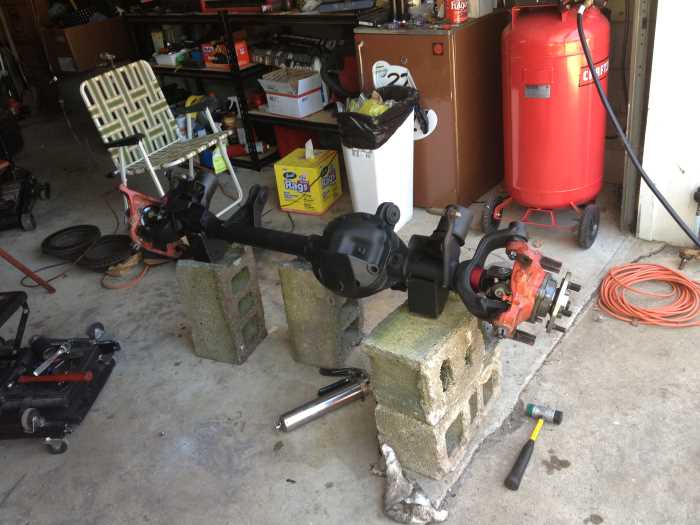
I had both my front and rear axels rebuilt and re-geared to 4.88. At the time the thought was that I would eventually move up to 35" tires and so my gearing would be fine. It has now been 9 years and I am still on 33" tires with plans to just replace the axels in the next 2 years so that I can move up to 37" tires and possibly have a rear steer set up.
The front is a D30 re-geared , installed chromoly shafts, kept my Aussie locker that was already installed, installed new wheel bearings, and ball joints
For the rear I kept my C8.25 as it was the 29 spline and had read that it would be fine for my max tire size plan at the time was 35". I installed a selectable locker in the rear and had this regarded as well. I had already converted the axel to disk brakes.
2015
Along the way I have also swapped out the AW4 as I was an idiot when replacing a leaking transmission line and cracked the aluminum housing.
2018
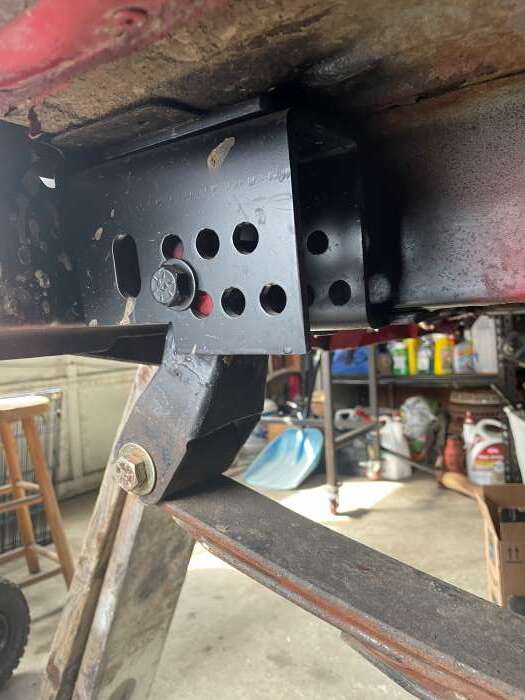
I installed rear shackle relocation brackets. The main reason was because the bolt holes for the stock brackets were starting to oval and making things loose.
2020
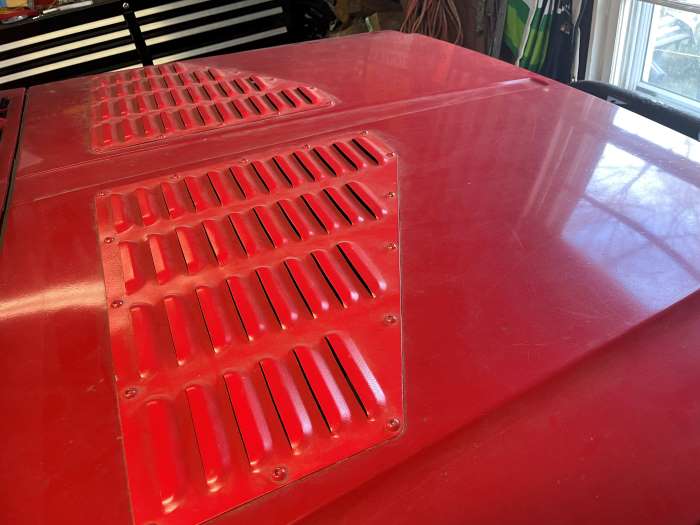
The last main thing I did was to finally solve my overheating problem of the Jeep. My first solution to solving this was to flush the whole system and see if just giving it a good clean would help. But it didn’t. So next I tried to improve the air flow through the engine by by installing hood vents. I must say that this did help a little but I was still noticing my temp going over the 210 mark.
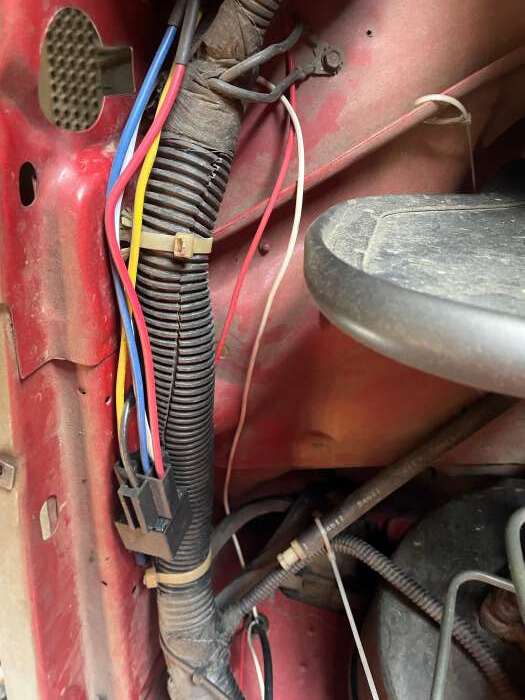
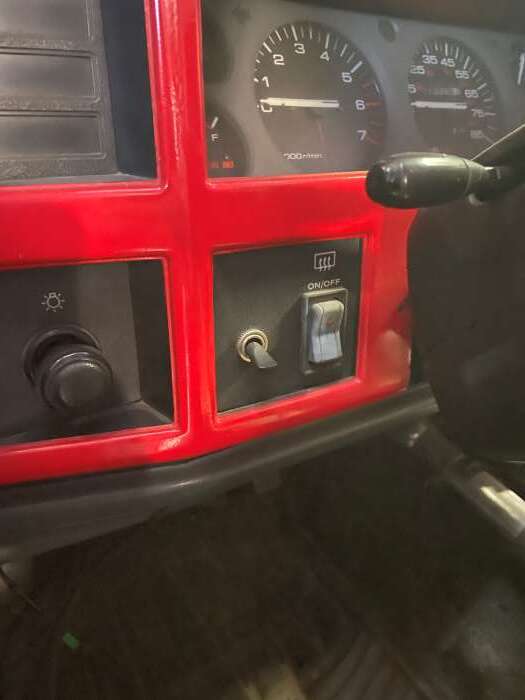
The final solution I did was rewire my electric fan. With the help of a relay and a toggle switch I am now able to manually turn on the electric fan. This seem to have done the trick as I have yet to see the temp go past the 210 mark even on the hottest of days.
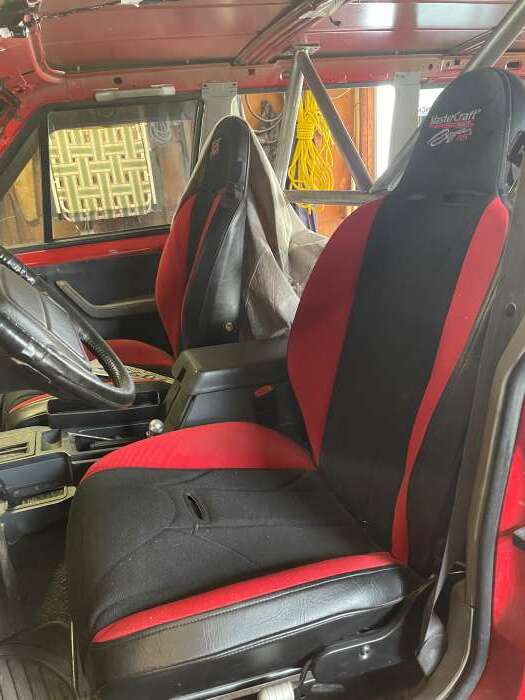
Last year my jeep turned 25 so I was able to register it as an antique and finally be able to drive it on the road again. I also finally decided to spend the money and invest in suspension seats. I must say this is my top 5 best mods ever done. After the first time out with these seats I noticed I wasn’t as soar as I normally would have been with my old stock seats and they are way more comfortable.
And so that is were I stood at the end of last years wheeling season.
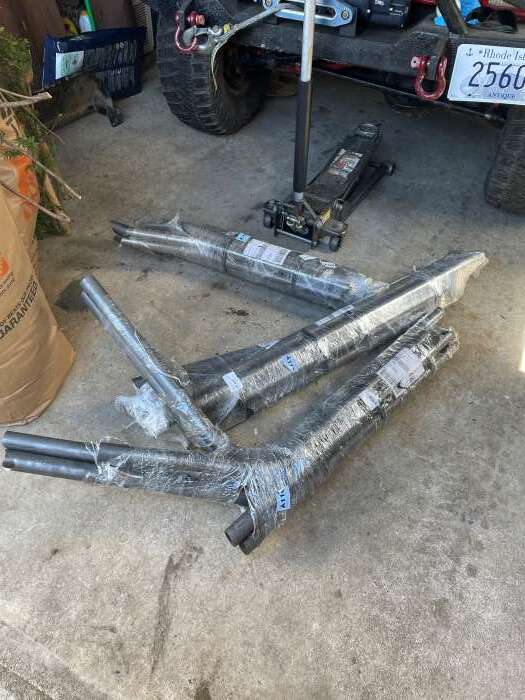
So after last year I decided that it was time for me to take the next steps in my Jeep build. So I went out and purchased an already pre bent and cut cage from Welder D.
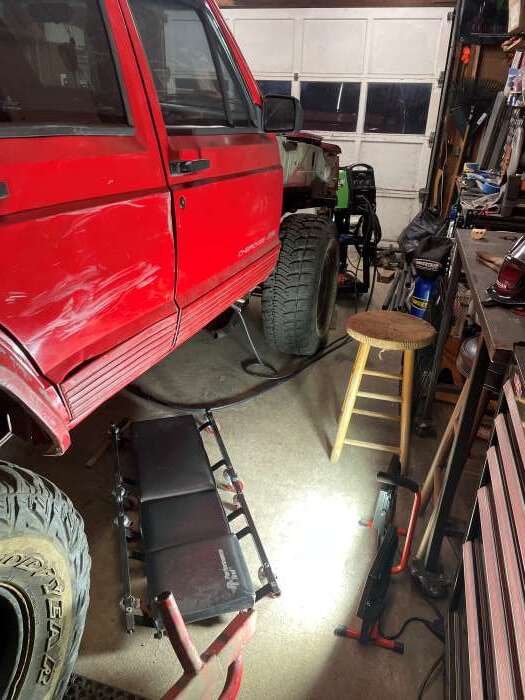
Starting in December I removed my old sliders, that were held on by bolts and screws and started to clean off the rust and re attached them back onto the Jeep by welding them in place.
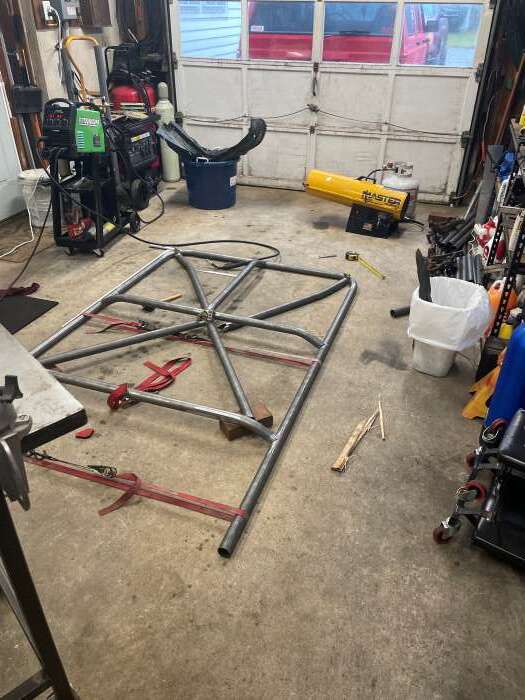
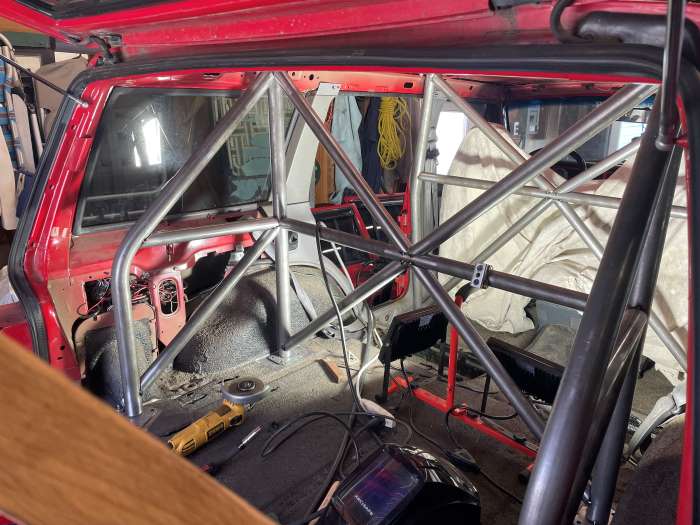
From there I started to tack and mock up the top part of the cage on my garage floor. Once the needed parts were tacked in place I put it on top of the roof to get an idea of where the B and C pillar bars would need to be in order to align to the top so that ever thing fit properly.
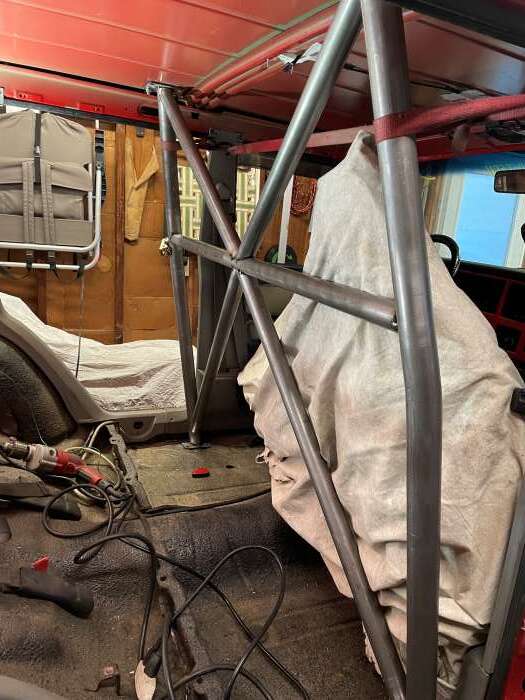
Once I had a good idea of the fitment I started to tack together the B pillar bracing. Making sure that my seats could still be adjusted to slide back all the way. But at the same time also making sure it aligned with the roof mounts and floor mounts to make sure that it was not angled wrong from its original design.
For the C pillar it was a little easier as it was not in the way of the backing for the rear seat. This is nice so that I can still have my dogs in the back when driving around town and they have a soft seat to lay on and not the floor. The only real issue with this was that two D pillar tubes did not have a notch in them to mount flush to the vertical C pillar tubes. So it took some time of me carefully grinding and cutting to notch them to fit perfect.