CJ7 - The Epic Saga of the War Pig

Since I just finished my stroker swap, I figured I would throw together a build thread/Build history of the War Pig, so here goes:

Bought as a non-runner out of Jaffery NH (we drive by the guys street every time we go to F&F)

After a new fuel tank, and a tune up to the Carter 2bbl, as well as a swap to a late model YJ cage, we were up and running!

After toasting a clutch screwing around in some mud on Thanksgiving, 2009, I decided it was time to pull it down to do a major overhaul. The goals were to swap transmissions (it had a T5, which is very weak) to a T176, clean, and seal the frame (it was and still is solid), repair rear crossmember, and repair and repaint the body.

After all that, I painted it red, as I really was not fond of the yellow (the last time this rig was shiny):

Along the way, added a couple items:

Custom 6 pt cage (Note the YJ bars in the back)

Home Brew Twin Stick for the D300:

Over the last year, I noticed my engine losing more and more power. I was told thet this was the original engine, with no rebuilds form the PO, and this was confirmed when we broke it open. It was time for an engine swap. At one point, I was leaning strongly toward a SBC, but as time went on, I decided I wanted something a bit more original. I decided to build a stroker. 4.6L with the MPFI out of an OBD1 Cherokee. Here is how it goes:

Many of the parts had been acquired over the course of a year or so. I think I got the block and head last spring:

Wiring harness and computer from a 94 XJ ( the computer was a brick, or so I found out this past weekend when I tried to start it!)

Crank and rods from my 4.2 (CJ crank on the Left, 4.0 on right)
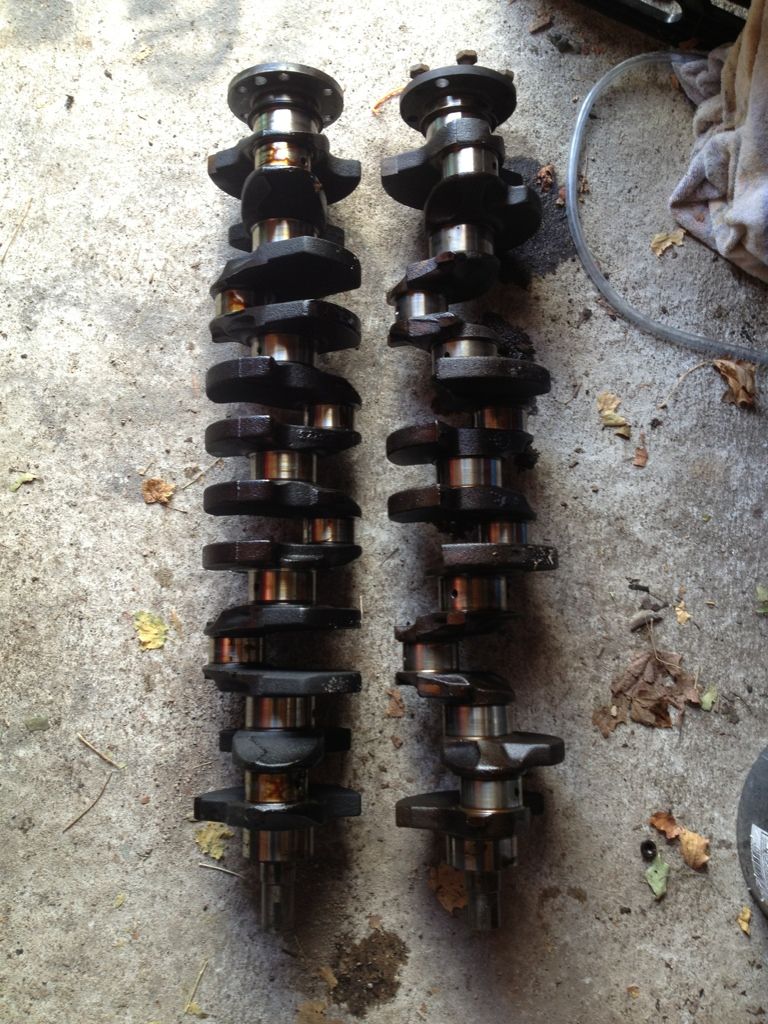
:

Mild port job on the head:

Block machined to zero deck with custom dished pistons:

Long block assembled:
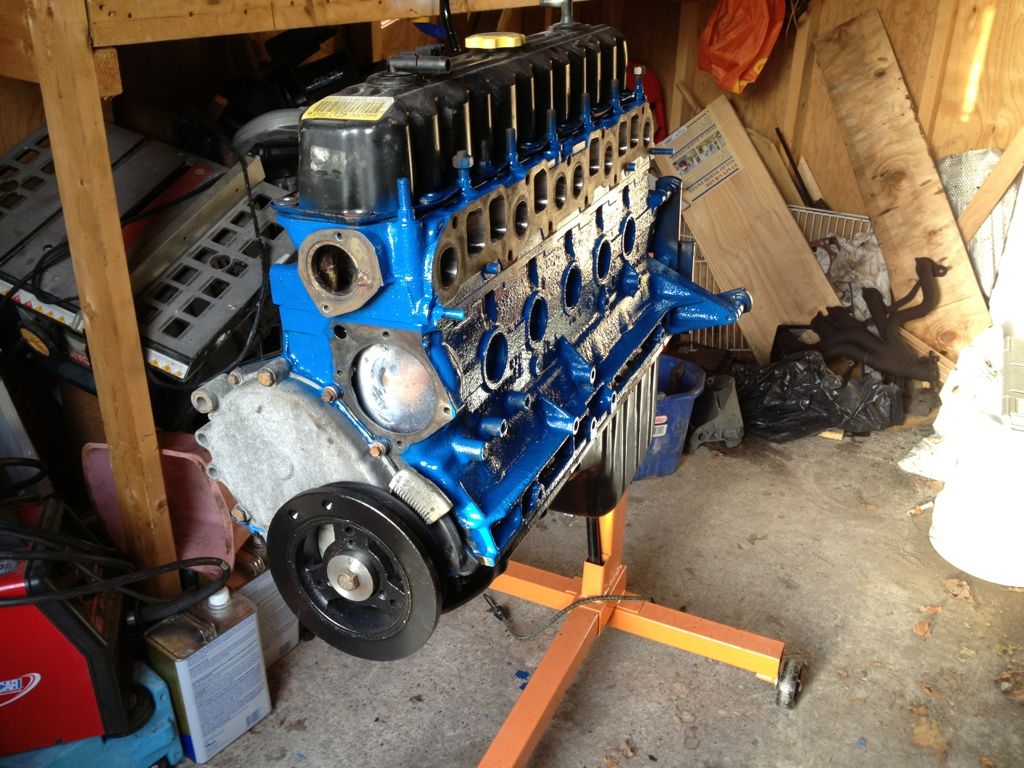
Between the rails:

Ready to roll!:

I did quite a bit of research on this before starting the project and it paid off. Everything went pretty much as I expected. It would have been running on Friday, however, I had some issues withe electrical. After checking and re-checking for 2 days, It finally occurred to me that I may have a bad ECM. The person who sold me the harness said it was out of a runner, so I really didn’t consider that to be the issue. Once I got a new ECM, It fired immediately.

I only have about 20 miles or so on it right now, but so far, loving the POWER! Got to get a few hundred or so on the engine, then we can give it a run on the trail.

Thanks to those who helped out with this: Derick, Gene (who also gave me a bunch of parts!), Eric and Roxie; who all helped with the teardown (at least I thought it was Eric…I offered beer and he didn’t take me up on it. Hmmmm)

looks awesome Mike. Congrats on the successful swap

what all cj’s need fuel injection. Looks good mike glad you got it going.

Sweet!!!

Now if you can just make sure that t-case does not slip out of gear . . . .

Looks good Mike, I want to do a swap like that some day to my Jeep.

very nice!

Looks good Mike

nicely done mike

Great job :sunglasses:

Custom fabricated oil pan skid.

Starting a slow axle build. The idea is to take a Chevy D44 3/4 ton axle and shorten it 4" on the long side, which will allow me to run a long side shaft out of a Wagoneer. This will also eliminate any need for out-boarding the springs. When this is done, the WMS-WMS will be 63", which will match well to a Rodeo D44 I got from Mike J that measures out at 62".

A Few Pics:

Tabs and perch removed:

4" Cut from the long side:

.38" thick tube. Thicker than ProRock 44!

Remnants of the tube removed form inner C:

These are slated to be built and installed as part of a spring-over conversion in Jan-Feb, but I will chip away at the labor till then.

nice mike! what did you use to cut the tube with? how hard was it the get the rest of the tube out of the C

If you look closely at one of the pictures, should can see a hose clamp attached to the tube. I used this as a guide and carefully cut using my angle grinder and a good cutoff wheel.

Getting the remaining tube out of the C was relatively easy. Grind down the weld until you see the seam, then I made 2 cuts with my sawzall to release the pressure on the tube. The tapped them out with a hammer.

Looks good, I love building axles :sunglasses:

“Pressed” the inner C on the axle:

I bought a lot of parts over the last few weeks, but this was the most nerve-racking part of the build for me, because if it didn’t work out, the whole build went out the window. It worked out well, I baked the inner C on my patio grill for about an hour, brought the temperature of the metal up to about 350°. The axle was very cold as I was doing this in my shed. This gave me enough room to be able to fit this on with persuasion of a BFH.

All said, tolerances are right where I want them to be. It is within 1° of the other factory set inner C.

sweet, looks good mike… I’m thinking of doing the same on mine to convert over to king pins, like you said its kinda scary lol

Say goodby to the Dana 30 - It’s been fun constantly replacing your weak u-joints! New axle housing in the foreground to the right, awaiting mock-up.

GONE! Going spring over with Crown YJ heavy duty replacement springs:

M.O.R.E YJ Spring swap spring hangers. Only minor mods needed:

nice Mike, i’m going to have to redone my front spring hangers as well. i’d like to see how those MORE’s work out for you. and see how your rig settles out because i’m going spring over in the front