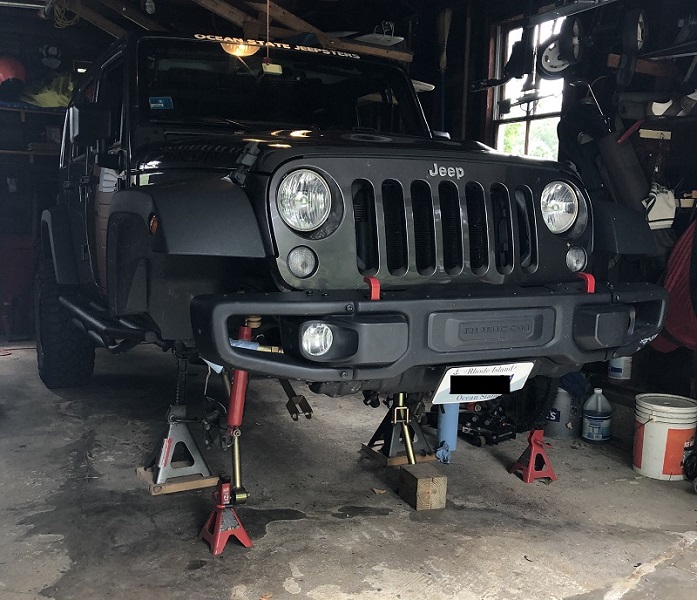
After going on the last trail ride and seeing someone with a JK that had a trussed and sleeved front axle I decided it was time to do that too. I needed new ball joints anyhow, so I decided if I’m going to take the axle shafts out to do that I might as well go all in. I completely removed the axle so I could drag it into my basement where I could do the welding on a bench with my TIG welder.
Parts to be installed:
-EVO Mfg. axle sleeves with sealed ends
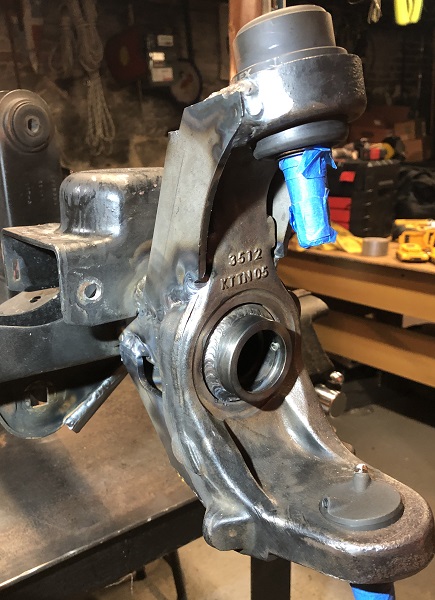
-Synergy Mfg. C-gusset kit
-Teraflex heavy duty ball joint kit
-EVO Mfg. weld on lower control arm skids
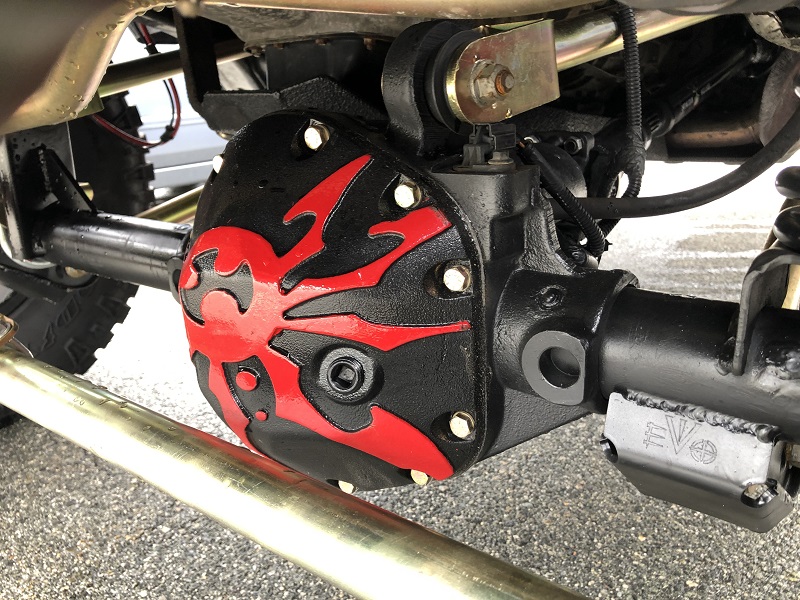
-Poison Spider bomb shell diff. cover
Removing the axle was the easy part in this project . . .
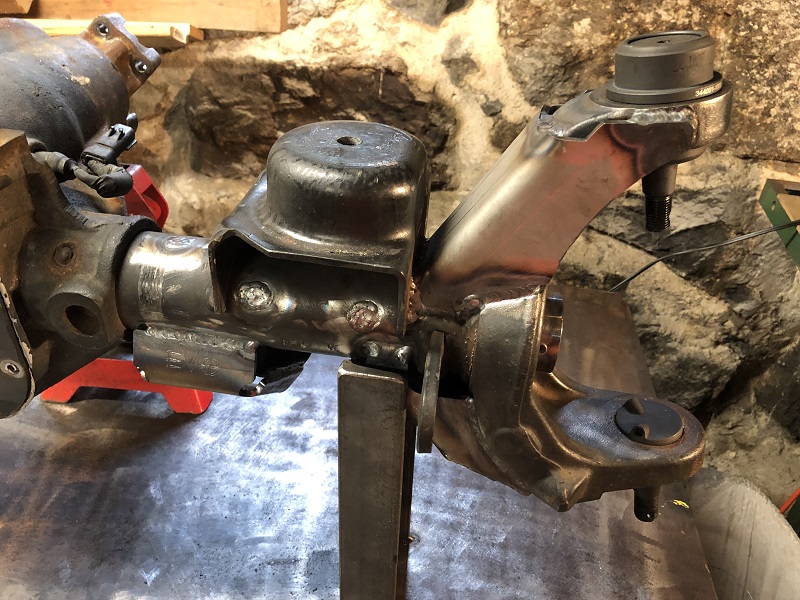
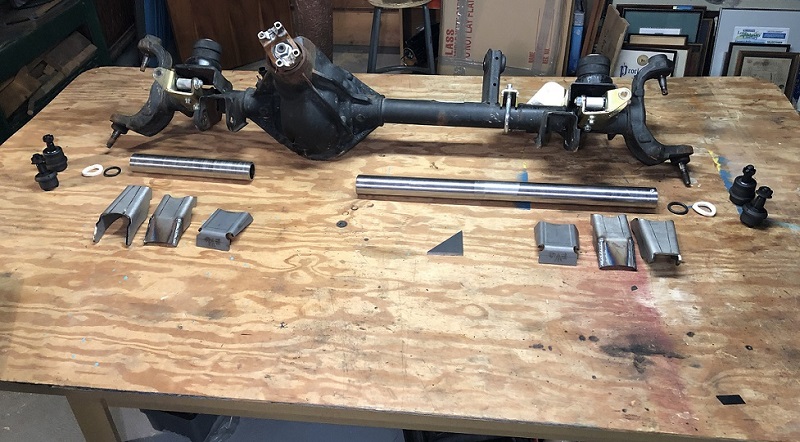
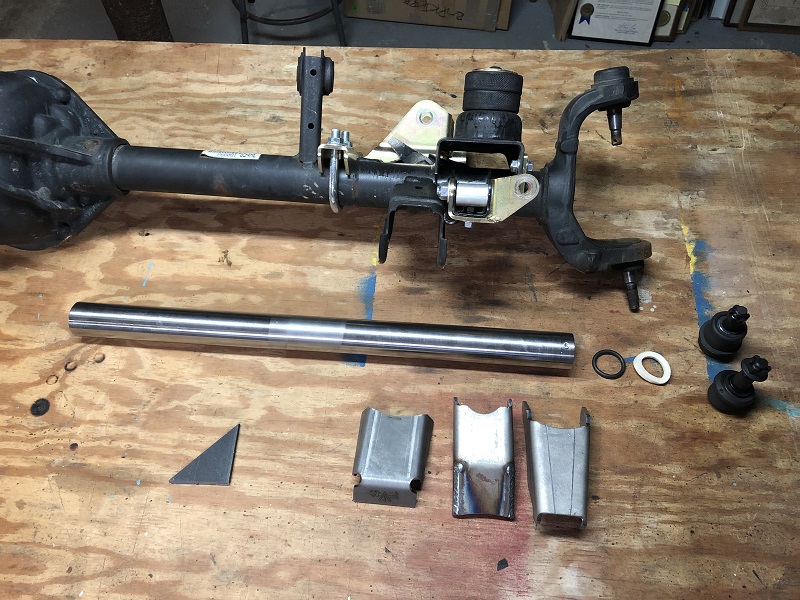
Pictures below show the removed Dana 44 axle and all but the diff. cover
I decided on the EVO weld in sleeves because I really like how they incorporate outer axle tube seals! I have had to replace inner seals before and this should protect those.

First thing I did, before any drilling, was to check the clearance of the axle shafts to the sleeve. I put the sleeves loose in the axle tube and reassembled the knuckle, hub, & axle shafts. The only thing with these EVO sleeves is that they stick out further than the OEM tube to allow for a grease fitting. It does make for a very tight fit between the U-joint casting and the outboard end of the axle sleeve.
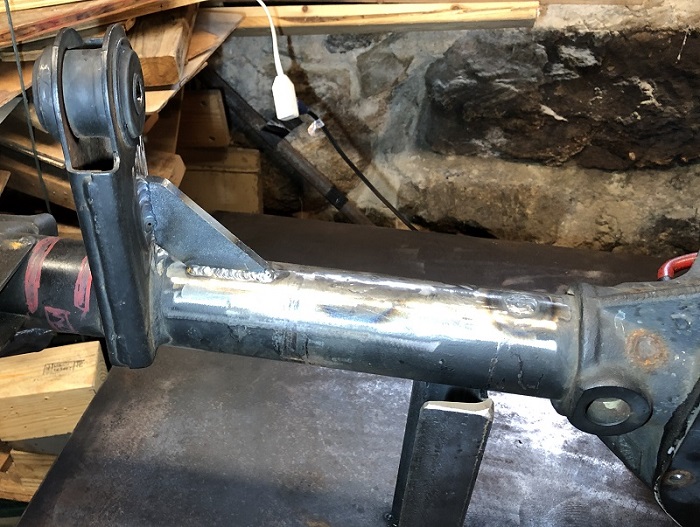
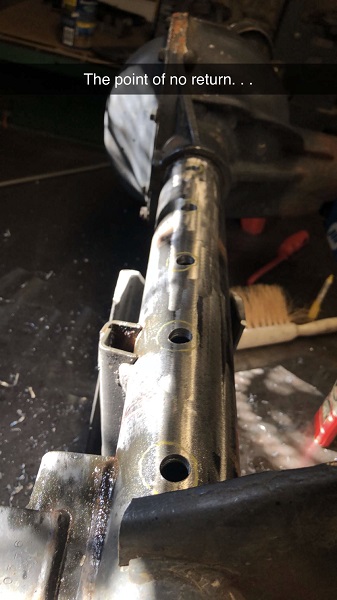
Next was the point of no return . . . Marked and drilled something like (QTY:18) ½” holes though the axle tube. Then after a lot of grinding and deburring, the sleeves went in and the holes were plug welded. I did my best to keep the axle cool near the differential as not to melt the axle seals or E-locker wiring. To do this I put a shop vac on one side of the axle tube to draw cool air through the inside of the axle.
(continued in next post)